In this guide I will be showing you how to create a QEMU virtual machine to work with Cisco ASAv. This is specific to Proxmox, but can be used on other platforms by following Cisco’s guide here. This will be limited to 100Kbps, but this will still work great for a lab environment and it will support all the features you would expect to see in a physical ASA.
Software Images
Download the QEMU images such as:
- asav941.qcow2
- asav983.qcow2
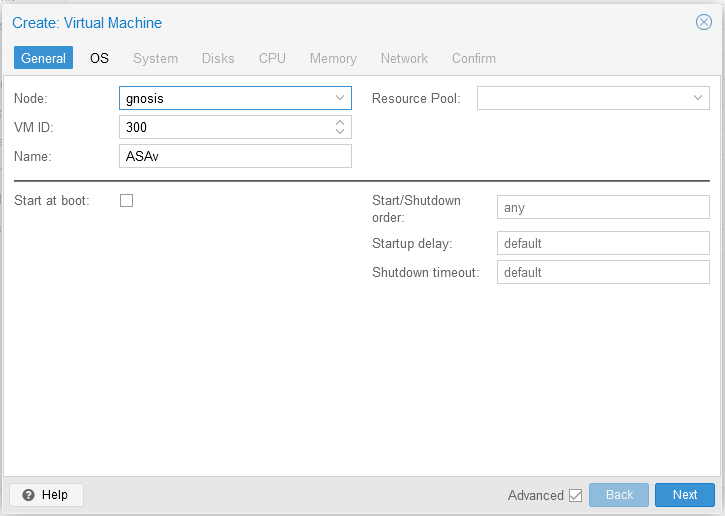
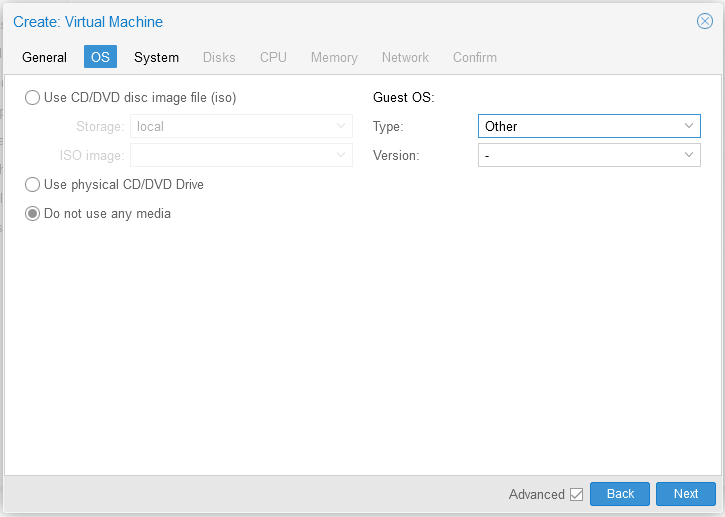
Create a new Virtual Machine
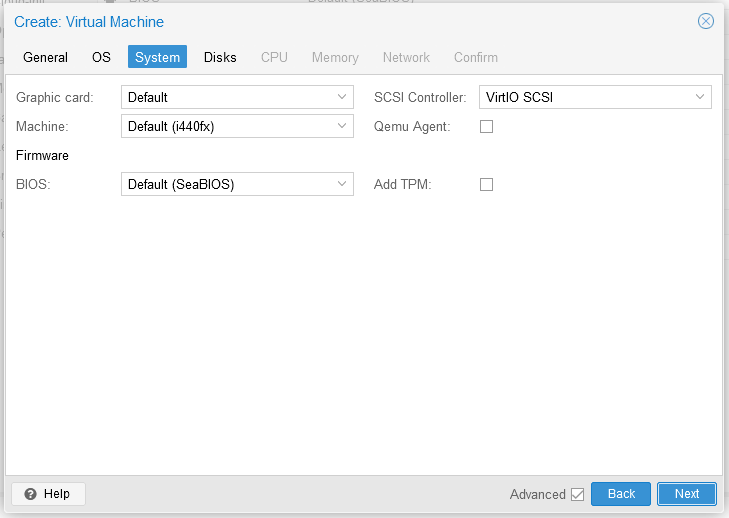
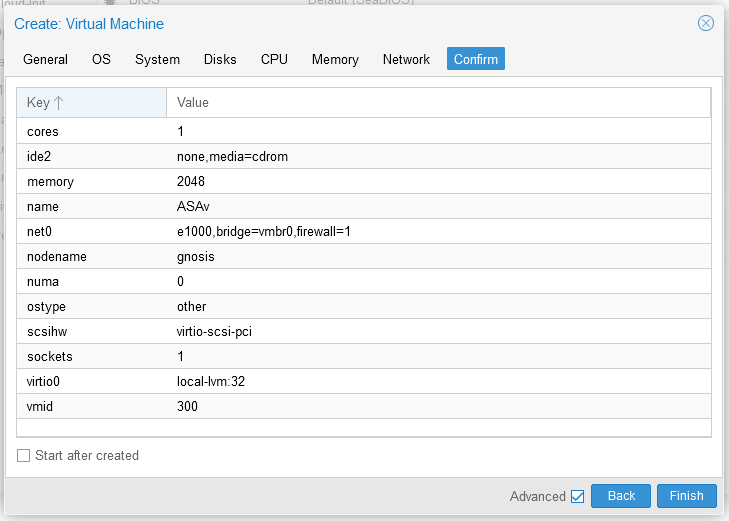
Additional VM Hardware
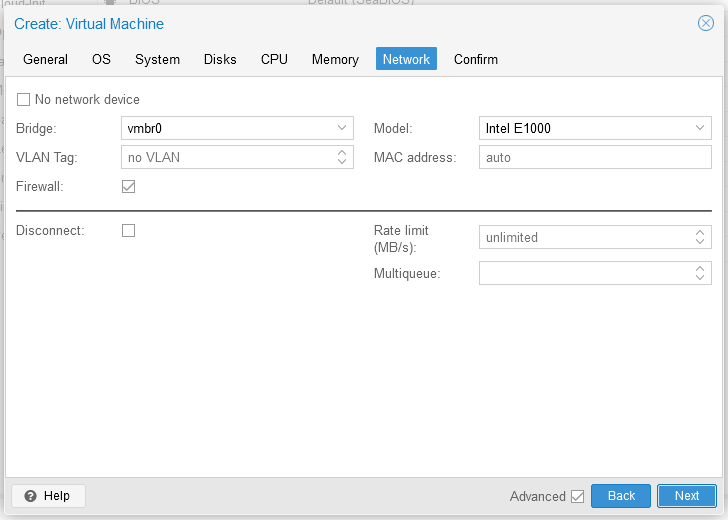
Add 3x Network interfaces
Add 1x Serial port
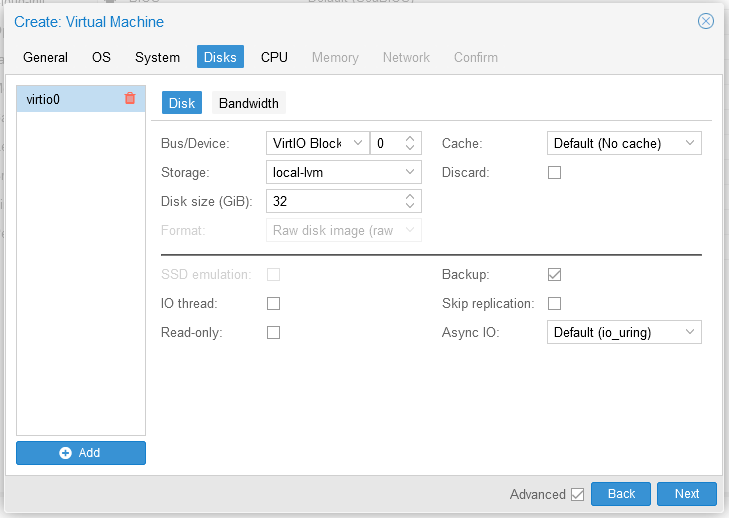
Detatch the hard disk and remove Unused Disk 0
Upload the QCOW2 Image
Copy the image to proxmox using SCP/SFTP. I uploaded the image to:
/var/lib/vz/template/qemu
Import the image into the virtual machine
qm importdisk 300 asav983.qcow2 local-lvm
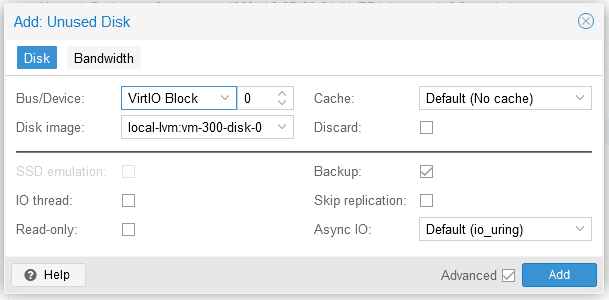
A new Unused Disk 0 will now be in the virtual machine Hardware list. Select the disk and click edit.
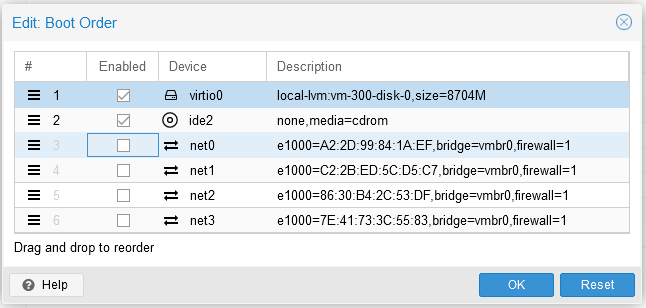
Update the boot order
Navigate to Options and select Boot Order and click Edit.
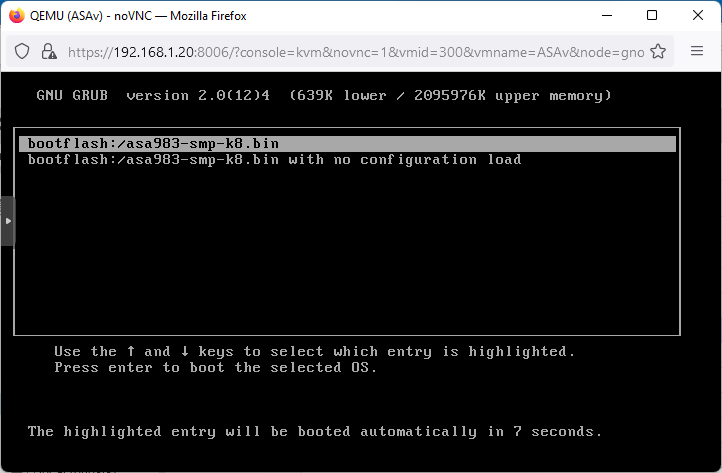
Start the Virtual Machine
Start the virtual machine and open the noVNC Console.
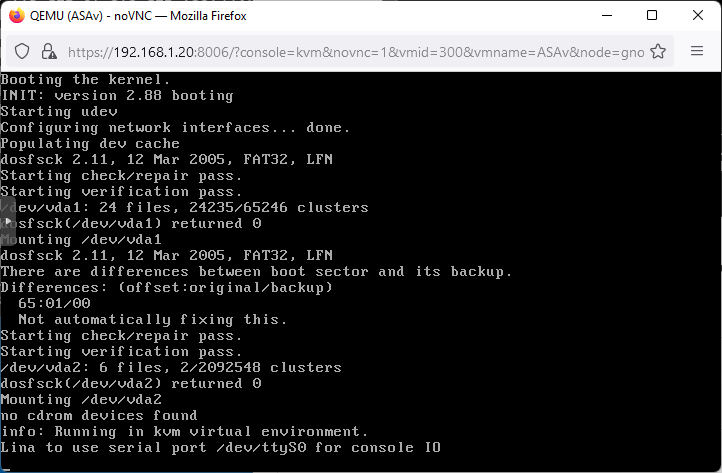
Don’t be alarmed, at this point the machine will reboot. Once it has got back to this point, open a console session using xTerm.js

The ASA is now up and running. When running a show interface ip brief you will be presented with the following interfaces:
GigabitEthernet0/0         unassigned      YES unset  administratively down up
GigabitEthernet0/1         unassigned      YES unset  administratively down up
GigabitEthernet0/2         unassigned      YES unset  administratively down up
Management0/0              unassigned      YES unset  administratively down up
These translate the the following:
| Physical Nic | Interface |
| net0 | Management0/0 |
| net1 | GigabitEthernet0/0 |
| net2 | GigabitEthernet0/1 |
| net3 | GigabitEthernet0/2 |